Textures
This article is one in a series of articles about three.js. The first article was about three.js fundamentals. The previous article was about setting up for this article. If you haven't read that yet you might want to start there.
Textures are a kind of large topic in Three.js and I'm not 100% sure at what level to explain them but I will try. There are many topics and many of them interrelate so it's hard to explain them all at once. Here's quick table of contents for this article.
- Hello Texture
- 6 textures, a different one on each face of a cube
- Loading textures
- The easy way
- Waiting for a texture to load
- Waiting for multiple textures to load
- Loading textures from other origins
- Memory usage
- JPG vs PNG
- Filtering and mips
- Repeating, offseting, rotating, wrapping
Hello Texture
Textures are generally images that are most often created in some 3rd party program like Photoshop or GIMP. For example let's put this image on cube.
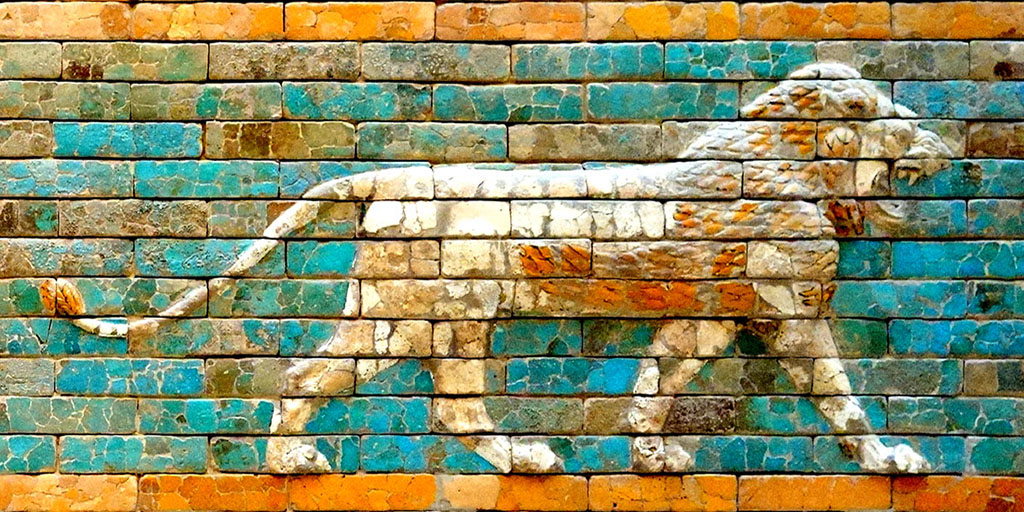
We'll modify one of our first samples. All we need to do is create a TextureLoader. Call its
load method with the URL of an
image and and set the material's map property to the result instead of setting its color.
+const loader = new THREE.TextureLoader();

const material = new THREE.MeshBasicMaterial({
-  color: 0xFF8844,
+  map: loader.load('resources/images/wall.jpg'),
});
Note that we're using MeshBasicMaterial so no need for any lights.
6 Textures, a different one on each face of a cube
How about 6 textures, one on each face of a cube?
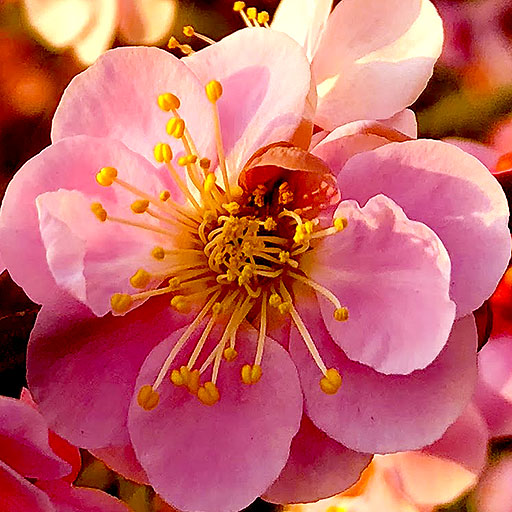


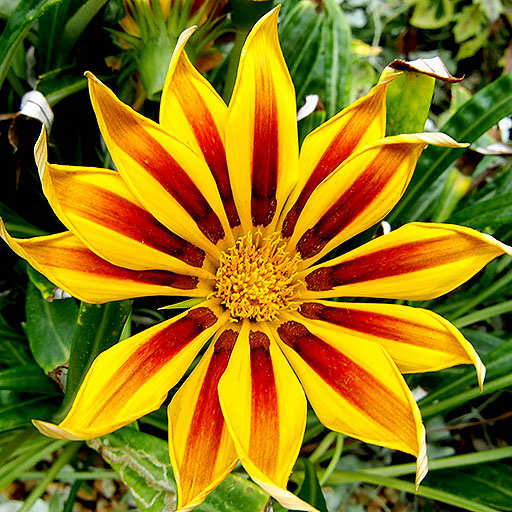
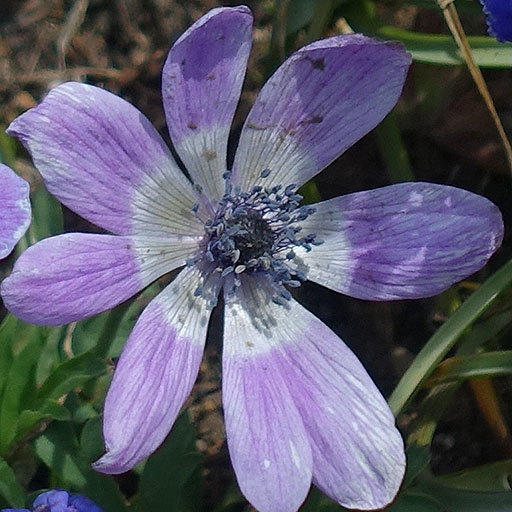
We just make 6 materials and pass them as an array when we create the Mesh
const loader = new THREE.TextureLoader();
-const material = new THREE.MeshBasicMaterial({
- map: loader.load('resources/images/wall.jpg'),
-});
+const materials = [
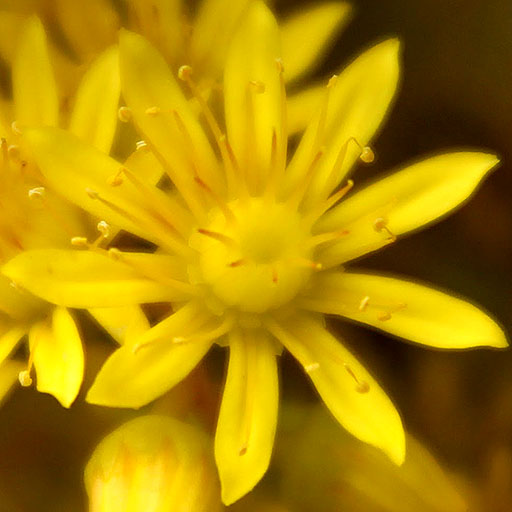
+ new THREE.MeshBasicMaterial({map: loader.load('resources/images/flower-1.jpg')}),
+ new THREE.MeshBasicMaterial({map: loader.load('resources/images/flower-2.jpg')}),
+ new THREE.MeshBasicMaterial({map: loader.load('resources/images/flower-3.jpg')}),
+ new THREE.MeshBasicMaterial({map: loader.load('resources/images/flower-4.jpg')}),
+ new THREE.MeshBasicMaterial({map: loader.load('resources/images/flower-5.jpg')}),
+ new THREE.MeshBasicMaterial({map: loader.load('resources/images/flower-6.jpg')}),
+];
-const cube = new THREE.Mesh(geometry, material);
+const cube = new THREE.Mesh(geometry, materials);
It works!
It should be noted though that not all geometry types supports multiple
materials. BoxGeometry can use 6 materials one for each face.
ConeGeometry can use 2 materials, one for the bottom and one for the cone.
CylinderGeometry can use 3 materials, bottom, top, and side.
For other cases you will need to build or load custom geometry and/or modify texture coordinates.
It's far more common in other 3D engines and far more performant to use a Texture Atlas if you want to allow multiple images on a single geometry. A Texture atlas is where you put multiple images in a single texture and then use texture coordinates on the vertices of your geometry to select which parts of a texture are used on each triangle in your geometry.
What are texture coordinates? They are data added to each vertex of a piece of geometry that specify what part of the texture corresponds to that specific vertex. We'll go over them when we start building custom geometry.
Loading Textures
The Easy Way
Most of the code on this site uses the easiest method of loading textures.
We create a TextureLoader and then call its load method.
This returns a Texture object.
const texture = loader.load('resources/images/flower-1.jpg');
It's important to note that using this method our texture will be transparent until the image is loaded asynchronously by three.js at which point it will update the texture with the downloaded image.
This has the big advantage that we don't have to wait for the texture to load and our page will start rendering immediately. That's probably okay for a great many use cases but if we want we can ask three.js to tell us when the texture has finished downloading.
Waiting for a texture to load
To wait for a texture to load the load method of the texture loader takes a callback
that will be called when the texture has finished loading. Going back to our top example
we can wait for the texture to load before creating our Mesh and adding it to scene
like this
const loader = new THREE.TextureLoader();
loader.load('resources/images/wall.jpg', (texture) => {
  const material = new THREE.MeshBasicMaterial({
    map: texture,
  });
  const cube = new THREE.Mesh(geometry, material);
  scene.add(cube);
  cubes.push(cube);  // add to our list of cubes to rotate
});
Unless you clear your browser's cache and have a slow connection you're unlikely to see the any difference but rest assured it is waiting for the texture to load.
Waiting for multiple textures to load
To wait until all textures have loaded you can use a LoadingManager. Create one
and pass it to the TextureLoader then set its onLoad
property to a callback.
+const loadManager = new THREE.LoadingManager();
*const loader = new THREE.TextureLoader(loadManager);

const materials = [
  new THREE.MeshBasicMaterial({map: loader.load('resources/images/flower-1.jpg')}),
  new THREE.MeshBasicMaterial({map: loader.load('resources/images/flower-2.jpg')}),
  new THREE.MeshBasicMaterial({map: loader.load('resources/images/flower-3.jpg')}),
  new THREE.MeshBasicMaterial({map: loader.load('resources/images/flower-4.jpg')}),
  new THREE.MeshBasicMaterial({map: loader.load('resources/images/flower-5.jpg')}),
  new THREE.MeshBasicMaterial({map: loader.load('resources/images/flower-6.jpg')}),
];

+loadManager.onLoad = () => {
+  const cube = new THREE.Mesh(geometry, materials);
+  scene.add(cube);
+  cubes.push(cube);  // add to our list of cubes to rotate
+};
The LoadingManager also has an onProgress property
we can set to another callback to show a progress indicator.
First we'll add a progress bar in HTML
<body>
  <canvas id="c"></canvas>
+  <div id="loading">
+    <div class="progress"><div class="progressbar"></div></div>
+  </div>
</body>
and the CSS for it
#loading {
    position: fixed;
    top: 0;
    left: 0;
    width: 100%;
    height: 100%;
    display: flex;
    justify-content: center;
    align-items: center;
}
#loading .progress {
    margin: 1.5em;
    border: 1px solid white;
    width: 50vw;
}
#loading .progressbar {
    margin: 2px;
    background: white;
    height: 1em;
    transform-origin: top left;
    transform: scaleX(0);
}
Then in the code we'll update the scale of the progressbar in our onProgress callback. It gets
called with the URL of the last item loaded, the number of items loaded so far, and the total
number of items loaded.
+const loadingElem = document.querySelector('#loading');
+const progressBarElem = loadingElem.querySelector('.progressbar');

loadManager.onLoad = () => {
+  loadingElem.style.display = 'none';
  const cube = new THREE.Mesh(geometry, materials);
  scene.add(cube);
  cubes.push(cube);  // add to our list of cubes to rotate
};

+loadManager.onProgress = (urlOfLastItemLoaded, itemsLoaded, itemsTotal) => {
+  const progress = itemsLoaded / itemsTotal;
+  progressBarElem.style.transform = `scaleX(${progress})`;
+};
Unless you clear your cache and have a slow connection you might not see the loading bar.
Loading textures from other origins
To use images from other servers those servers need to send the correct headers. If they don't you cannot use the images in three.js and will get an error. If you run the server providing the images make sure it sends the correct headers. If you don't control the server hosting the images and it does not send the permission headers then you can't use the images from that server.
For example imgur, flickr, and github all send headers allowing you to use images hosted on their servers in three.js. Most other websites do not.
Memory Usage
Textures are often the part of a three.js app that use the most memory. It's important to understand
that in general, textures take width * height * 4 * 1.33 bytes of memory.
Notice that says nothing about compression. I can make a .jpg image and set its compression super high. For example let's say I was making a scene of a house. Inside the house there is a table and I decide to put this wood texture on the top surface of the table
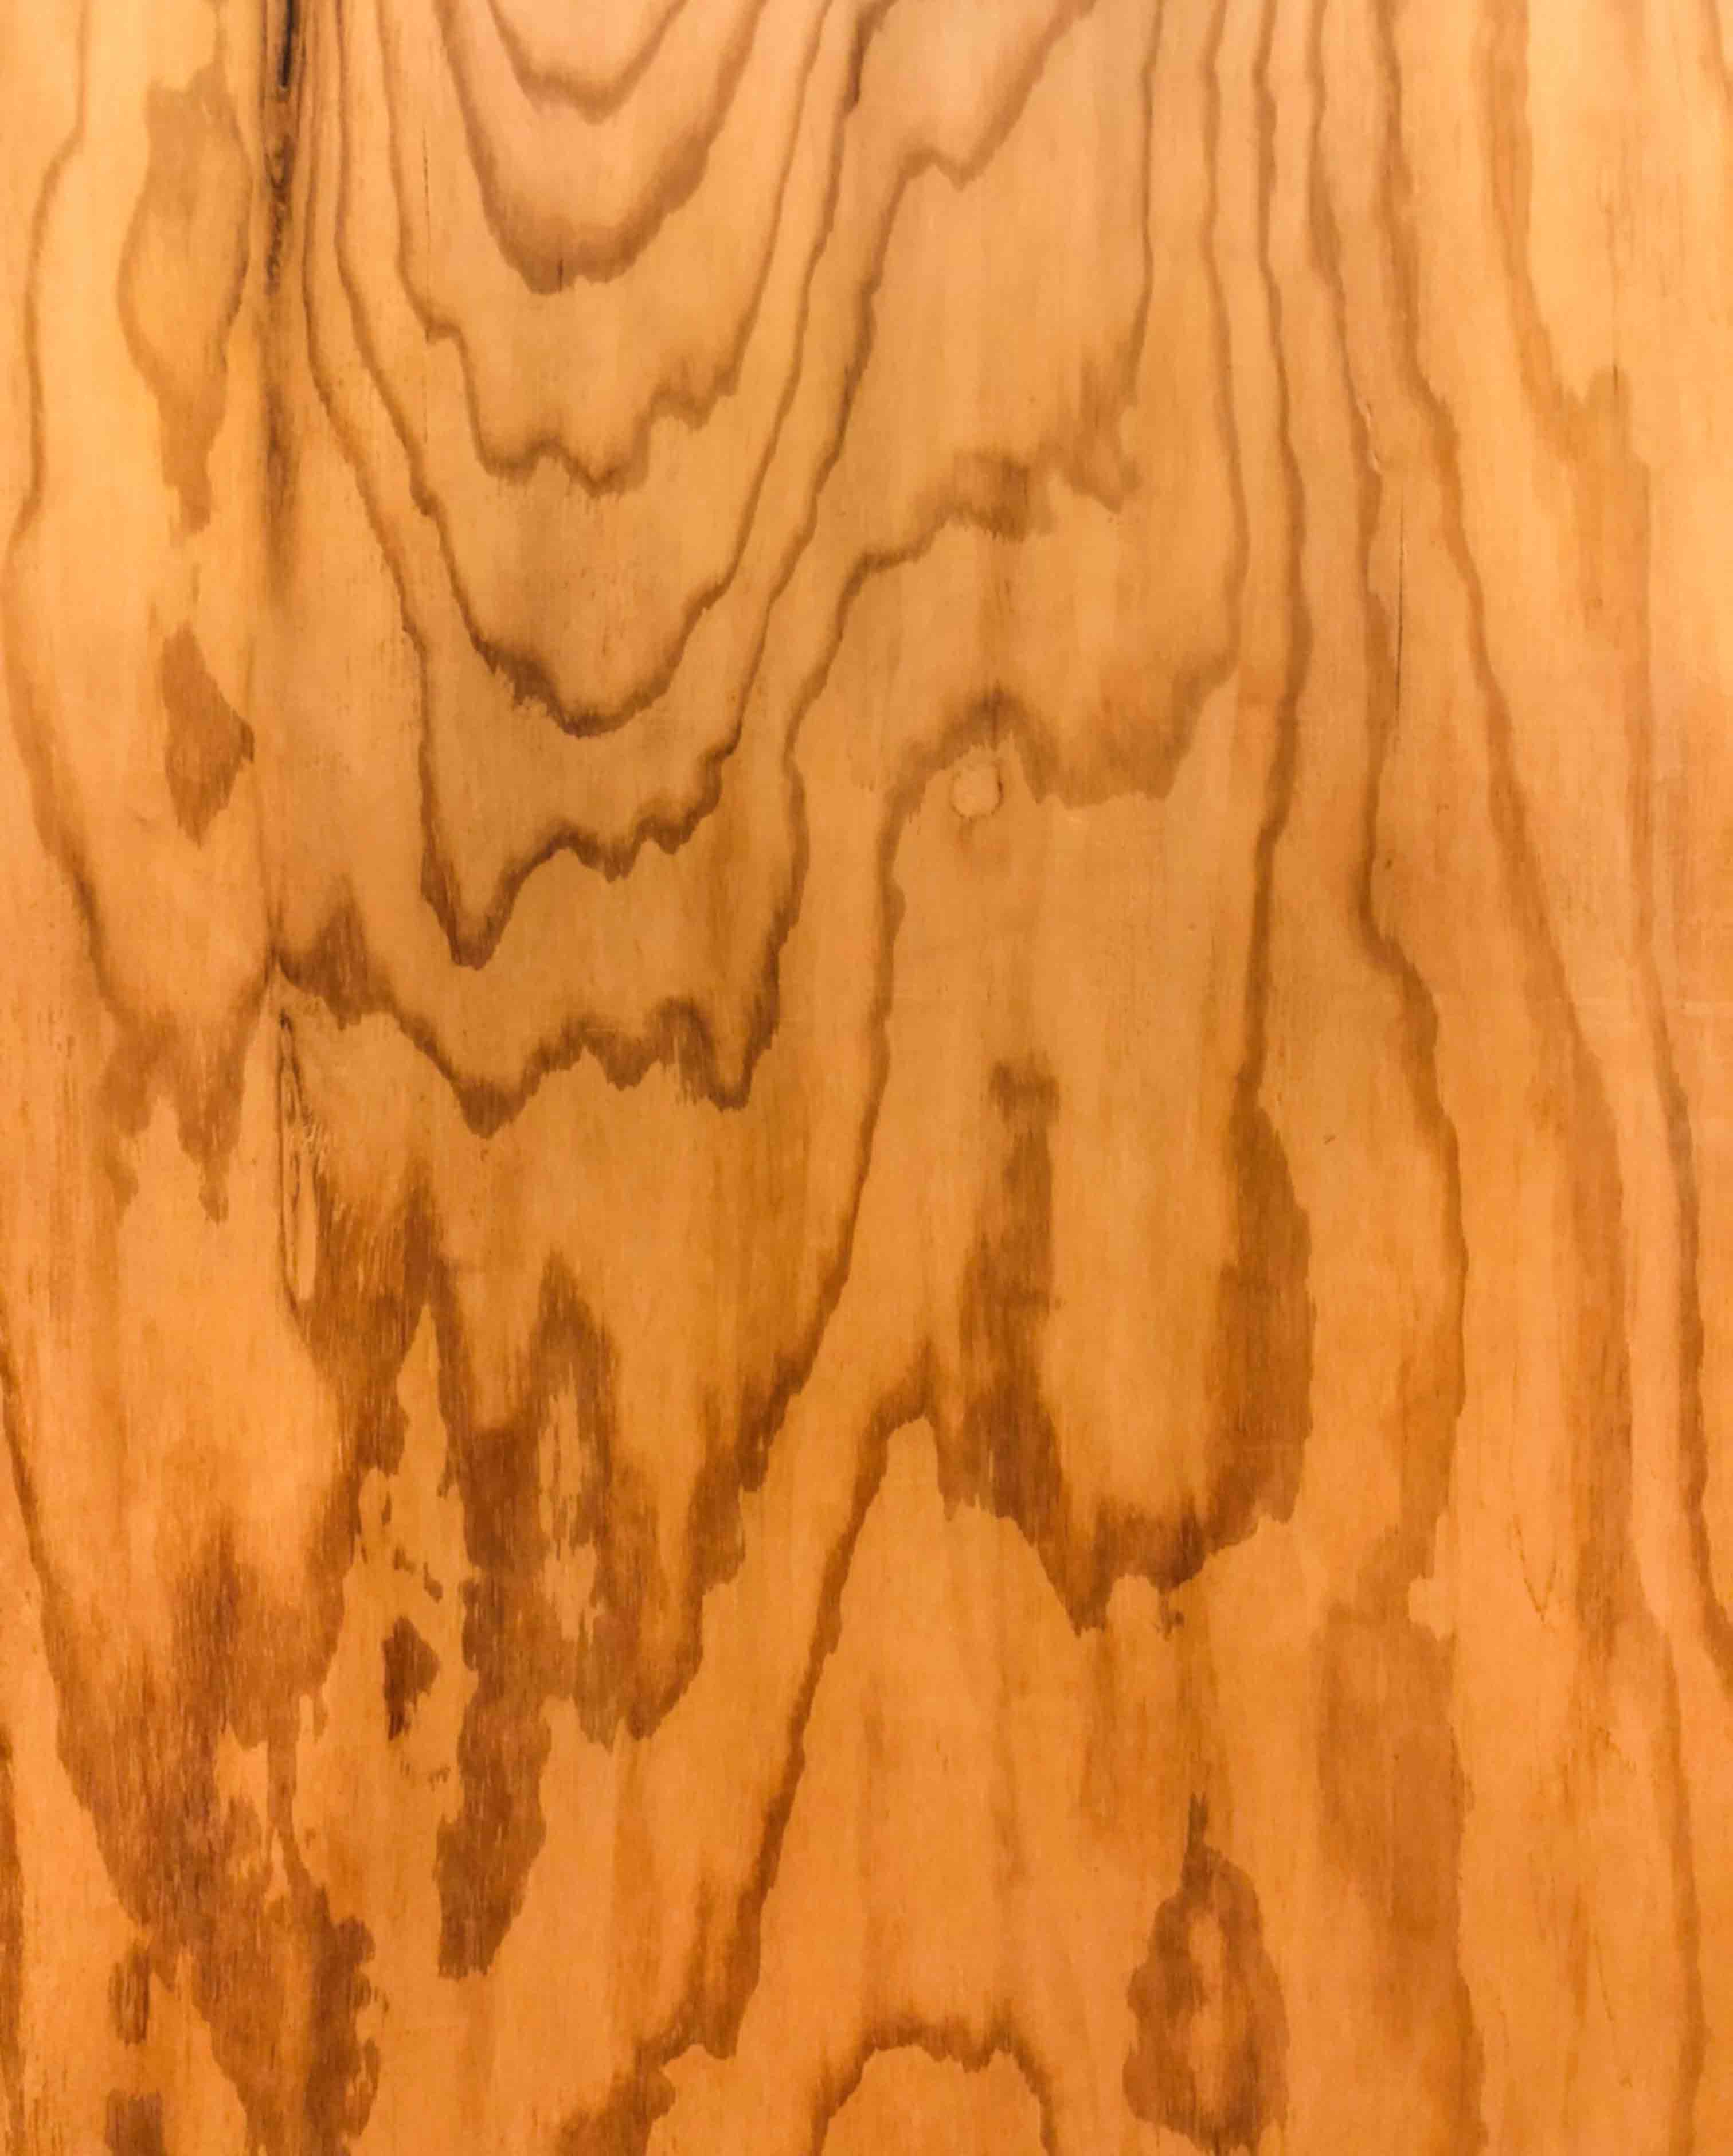
That image is only 157k so it will download relatively quickly but it is actually 3024 x 3761 pixels in size. Following the equation above that's
3024 * 3761 * 4 * 1.33 = 60505764.5
That image will take 60 MEG OF MEMORY! in three.js. A few textures like that and you'll be out of memory.
I bring this up because it's important to know that using textures has a hidden cost. In order for three.js to use the texture it has to hand it off to the GPU and the GPU in general requires the texture data to be uncompressed.
The moral of the story is make your textures small in dimensions not just small in file size. Small in file size = fast to download. Small in dimensions = takes less memory. How small should you make them? As small as you can and still look as good as you need them to look.
JPG vs PNG
This is pretty much the same as regular HTML in that JPGs have lossy compression, PNGs have lossless compression so PNGs are generally slower to download. But, PNGs support transparency. PNGs are also probably the appropriate format for non-image data like normal maps, and other kinds of non-image maps which we'll go over later.
It's important to remember that a JPG doesn't use less memory than a PNG in WebGL. See above.
Filtering and Mips
Let's apply this 16x16 texture
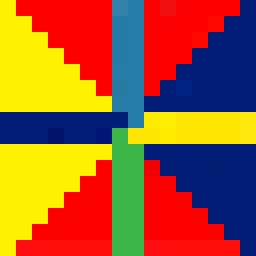
To a cube
Let's draw that cube really small
Hmmm, I guess that's hard to see. Let's magnify that tiny cube
How does the GPU know which colors to make each pixel it's drawing for the tiny cube? What if the cube was so small that it's just 1 or 2 pixels?
This is what filtering is about.
If it was Photoshop, Photoshop would average nearly all the pixels together to figure out what color to make those 1 or 2 pixels. That would be a very slow operation. GPUs solve this issue using mipmaps.
Mips are copies of the texture, each one half as wide and half as tall as the previous mip where the pixels have been blended to make the next smaller mip. Mips are created until we get all the way to a 1x1 pixel mip. For the image above all of the mips would end up being something like this
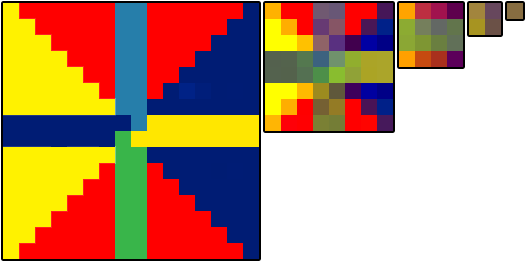
Now, when the cube is drawn so small that it's only 1 or 2 pixels large the GPU can choose to use just the smallest or next to smallest mip level to decide what color to make the tiny cube.
In three.js you can choose what happens both when the texture is drawn larger than its original size and what happens when it's drawn smaller than its original size.
For setting the filter when the texture is drawn larger than its original size
you set texture.magFilter property to either THREE.NearestFilter or
THREE.LinearFilter. NearestFilter means
just pick the closet single pixel from the original texture. With a low
resolution texture this gives you a very pixelated look like Minecraft.
LinearFilter means choose the 4 pixels from the texture that are closest
to the where we should be choosing a color from and blend them in the
appropriate proportions relative to how far away the actual point is from
each of the 4 pixels.
For setting the filter when the texture is drawn smaller than its original size
you set the texture.minFilter property to one of 6 values.
THREE.NearestFiltersame as above, choose the closest pixel in the texture
THREE.LinearFiltersame as above, choose 4 pixels from the texture and blend them
THREE.NearestMipmapNearestFilterchoose the appropriate mip then choose one pixel
THREE.NearestMipmapLinearFilterchoose 2 mips, choose one pixel from each, blend the 2 pixels
THREE.LinearMipmapNearestFilterchose the appropriate mip then choose 4 pixels and blend them
THREE.LinearMipmapLinearFilterchoose 2 mips, choose 4 pixels from each and blend all 8 into 1 pixel
Here's an example showing all 6 settings
change
texture
mipmap
nearest
mipmap
linear
mipmap
nearest
mipmap
linear
One thing to notice is the top left and top middle using NearestFilter and LinearFilter
don't use the mips. Because of that they flicker in the distance because the GPU is
picking pixels from the original texture. On the left just one pixel is chosen and
in the middle 4 are chosen and blended but it's not enough come up with a good
representative color. The other 4 strips do better with the bottom right,
LinearMipmapLinearFilter being best.
If you click the picture above it will toggle between the texture we've been using above and a texture where every mip level is a different color.
This makes it more clear what is happening. You can see in the top left and top middle the first mip is used all the way into the distance. The top right and bottom middle you can clearly see where a different mip is used.
Switching back to the original texture you can see the bottom right is the smoothest, highest quality. You might ask why not always use that mode. The most obvious reason is sometimes you want things to be pixelated for a retro look or some other reason. The next most common reason is that reading 8 pixels and blending them is slower than reading 1 pixel and blending. While it's unlikely that a single texture is going to be the difference between fast and slow as we progress further into these articles we'll eventually have materials that use 4 or 5 textures all at once. 4 textures * 8 pixels per texture is looking up 32 pixels for ever pixel rendered. This can be especially important to consider on mobile devices.
Repeating, offseting, rotating, wrapping a texture
Textures have settings for repeating, offseting, and rotating a texture.
By default textures in three.js do not repeat. To set whether or not a
texture repeats there are 2 properties, wrapS for horizontal wrapping
and wrapT for vertical wrapping.
They can be set to one of:
THREE.ClampToEdgeWrappingthe last pixel on each edge is repeated forever
THREE.RepeatWrappingthe texture is repeated
THREE.MirroredRepeatWrappingthe texture is mirrored and repeated
For example to turn on wrapping in both directions:
someTexture.wrapS = THREE.RepeatWrapping;
someTexture.wrapT = THREE.RepeatWrapping;
Repeating is set with the [repeat] repeat property.
const timesToRepeatHorizontally = 4;
const timesToRepeatVertically = 2;
someTexture.repeat.set(timesToRepeatHorizontally, timesToRepeatVertically);
Offseting the texture can be done by setting the offset property. Textures
are offset with units where 1 unit = 1 texture size. On other words 0 = no offset
and 1 = offset one full texture amount.
const xOffset = .5;   // offset by half the texture
const yOffset = .25;  // offset by 1/4 the texture
someTexture.offset.set(xOffset, yOffset);
Rotating the texture can be set by setting the rotation property in radians
as well as the center property for choosing the center of rotation.
It defaults to 0,0 which rotates from the bottom left corner. Like offset
these units are in texture size so setting them to .5, .5 would rotate
around the center of the texture.
someTexture.center.set(.5, .5);
someTexture.rotation = THREE.MathUtils.degToRad(45);
Let's modify the top sample above to play with these values
First we'll keep a reference to the texture so we can manipulate it
+const texture = loader.load('resources/images/wall.jpg');
const material = new THREE.MeshBasicMaterial({
-  map: loader.load('resources/images/wall.jpg');
+  map: texture,
});
Then we'll use lil-gui again to provide a simple interface.
import {GUI} from '/examples/jsm/libs/lil-gui.module.min.js';
As we did in previous lil-gui examples we'll use a simple class to give lil-gui an object that it can manipulate in degrees but that will set a property in radians.
class DegRadHelper {
  constructor(obj, prop) {
    this.obj = obj;
    this.prop = prop;
  }
  get value() {
    return THREE.MathUtils.radToDeg(this.obj[this.prop]);
  }
  set value(v) {
    this.obj[this.prop] = THREE.MathUtils.degToRad(v);
  }
}
We also need a class that will convert from a string like "123" into
a number like 123 since three.js requires numbers for enum settings
like wrapS and wrapT but lil-gui only uses strings for enums.
class StringToNumberHelper {
  constructor(obj, prop) {
    this.obj = obj;
    this.prop = prop;
  }
  get value() {
    return this.obj[this.prop];
  }
  set value(v) {
    this.obj[this.prop] = parseFloat(v);
  }
}
Using those classes we can setup a simple GUI for the settings above
const wrapModes = {
  'ClampToEdgeWrapping': THREE.ClampToEdgeWrapping,
  'RepeatWrapping': THREE.RepeatWrapping,
  'MirroredRepeatWrapping': THREE.MirroredRepeatWrapping,
};

function updateTexture() {
  texture.needsUpdate = true;
}

const gui = new GUI();
gui.add(new StringToNumberHelper(texture, 'wrapS'), 'value', wrapModes)
  .name('texture.wrapS')
  .onChange(updateTexture);
gui.add(new StringToNumberHelper(texture, 'wrapT'), 'value', wrapModes)
  .name('texture.wrapT')
  .onChange(updateTexture);
gui.add(texture.repeat, 'x', 0, 5, .01).name('texture.repeat.x');
gui.add(texture.repeat, 'y', 0, 5, .01).name('texture.repeat.y');
gui.add(texture.offset, 'x', -2, 2, .01).name('texture.offset.x');
gui.add(texture.offset, 'y', -2, 2, .01).name('texture.offset.y');
gui.add(texture.center, 'x', -.5, 1.5, .01).name('texture.center.x');
gui.add(texture.center, 'y', -.5, 1.5, .01).name('texture.center.y');
gui.add(new DegRadHelper(texture, 'rotation'), 'value', -360, 360)
  .name('texture.rotation');
The last thing to note about the example is that if you change wrapS or
wrapT on the texture you must also set texture.needsUpdate
so three.js knows to apply those settings. The other settings are automatically applied.
This is only one step into the topic of textures. At some point we'll go over texture coordinates as well as 9 other types of textures that can be applied to materials.
For now let's move on to lights.