の背景とスカイボックス
このサイトのほとんどの記事では、背景に無地の色を使っています。
静的な背景として追加するには、CSSを設定するだけで簡単にできます。 Three.jsのレスポンシブデザインの記事を例にすると、変更が必要なのは2箇所だけです。
キャンバスにCSSを追加して背景を画像に設定する必要があります。
<style>
body {
    margin: 0;
}
#c {
    width: 100%;
    height: 100%;
    display: block;
+    background: url(resources/images/daikanyama.jpg) no-repeat center center;
+    background-size: cover;
}
</style>
そして、何も描画していない場所が透明になるように WebGLRenderer に alpha を指定します。
function main() {
  const canvas = document.querySelector('#c');
-  const renderer = new THREE.WebGLRenderer({canvas});
+  const renderer = new THREE.WebGLRenderer({
+    canvas,
+    alpha: true,
+  });
これで背景を設定できました。
背景にポストプロセス効果を与えたい場合は、Three.jsを使い背景を描画する必要があります。
THREE.jsで簡単にできます。シーンの背景をテクスチャに設定すれば良いのです。
const loader = new THREE.TextureLoader();
const bgTexture = loader.load('resources/images/daikanyama.jpg');
scene.background = bgTexture;
このようになります。
背景画像がありますが、画面に合わせて引き伸ばされています。
この問題はテクスチャの repeat と offset プロパティを設定して画像の一部だけを表示する事で解決できます。
function render(time) {

   ...

+  // Set the repeat and offset properties of the background texture
+  // to keep the image's aspect correct.
+  // Note the image may not have loaded yet.
+  const canvasAspect = canvas.clientWidth / canvas.clientHeight;
+  const imageAspect = bgTexture.image ? bgTexture.image.width / bgTexture.image.height : 1;
+  const aspect = imageAspect / canvasAspect;
+
+  bgTexture.offset.x = aspect > 1 ? (1 - 1 / aspect) / 2 : 0;
+  bgTexture.repeat.x = aspect > 1 ? 1 / aspect : 1;
+
+  bgTexture.offset.y = aspect > 1 ? 0 : (1 - aspect) / 2;
+  bgTexture.repeat.y = aspect > 1 ? 1 : aspect;

  ...

  renderer.render(scene, camera);

  requestAnimationFrame(render);
}
今度はThree.jsで背景を描画してます。 CSSの時と比べて目に見える違いはありませんが、ポストプロセス効果を使うと背景にも影響が出て違いがわかります。
もちろん、静的な背景は通常は3Dシーンに求めるものではありません。 その代わりに何らかの スカイボックス が欲しいです。 スカイボックスとは空の絵が描かれたキューブの事です。 キューブの中にカメラを入れると背景に空があるように見えます。
スカイボックスを実装する最も一般的な方法は、キューブを作りテクスチャを適用して内側から描画する事です。
キューブの各面に地平線の画像のようなテクスチャ(テクスチャ座標を使用)を貼り付けます。
また、スカイボックスの代わりに天球やスカイドームを使う事もよくあります。
それらでの実装は自分で調べればわかると思います。
キューブや球体を作りテクスチャを適用し、THREE.BackSide としてマークを付けます。
そして、外側ではなく内側にレンダリングし、直接シーンに入れるか、上記のようにするか、2つのシーンを作るか、スカイボックス/球体/ドームを描くための特別なシーンと
他の全てのものを描画するために使用します。
描画には通常の PerspectiveCamera を使います。OrthographicCamera は必要ないです。
もう1つの解決策は キューブマップ を使用する事です。 キューブマップは、キューブの側面である6つの側面を持つ特殊な種類のテクスチャです。 標準的なテクスチャ座標を使用するのではなく、中心から外側に向けた方向を使用し、どこで色を取得するかを決定します。
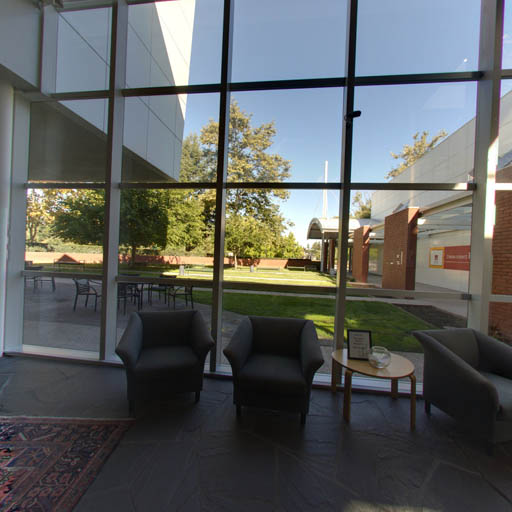
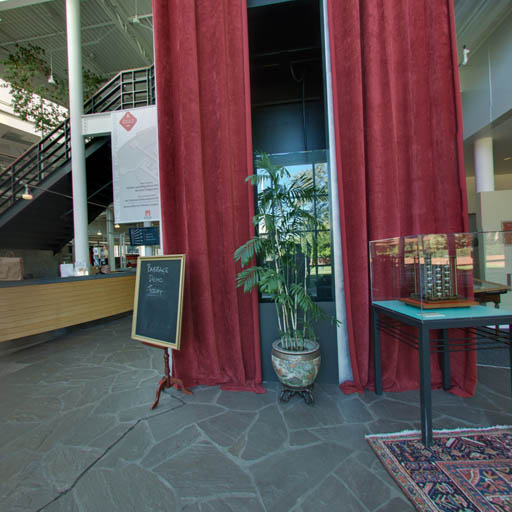
カリフォルニア州マウンテンビューにあるコンピュータ歴史博物館のキューブマップの画像6枚をご紹介します。
CubeTextureLoader を使用してキューブマップ画像を読み込み、シーンの背景として使用します。
{
  const loader = new THREE.CubeTextureLoader();
  const texture = loader.load([
    'resources/images/cubemaps/computer-history-museum/pos-x.jpg',
    'resources/images/cubemaps/computer-history-museum/neg-x.jpg',
    'resources/images/cubemaps/computer-history-museum/pos-y.jpg',
    'resources/images/cubemaps/computer-history-museum/neg-y.jpg',
    'resources/images/cubemaps/computer-history-museum/pos-z.jpg',
    'resources/images/cubemaps/computer-history-museum/neg-z.jpg',
  ]);
  scene.background = texture;
}
レンダリング時には、repeatやoffsetプロパティでテクスチャを調整する必要はありません。
function render(time) {

   ...

-  // Set the repeat and offset properties of the background texture
-  // to keep the image's aspect correct.
-  // Note the image may not have loaded yet.
-  const canvasAspect = canvas.clientWidth / canvas.clientHeight;
-  const imageAspect = bgTexture.image ? bgTexture.image.width / bgTexture.image.height : 1;
-  const aspect = imageAspect / canvasAspect;
-
-  bgTexture.offset.x = aspect > 1 ? (1 - 1 / aspect) / 2 : 0;
-  bgTexture.repeat.x = aspect > 1 ? 1 / aspect : 1;
-
-  bgTexture.offset.y = aspect > 1 ? 0 : (1 - aspect) / 2;
-  bgTexture.repeat.y = aspect > 1 ? 1 : aspect;

  ...

  renderer.render(scene, camera);

  requestAnimationFrame(render);
}
カメラを回転できるようにコントロールを追加してみましょう。
import {OrbitControls} from './resources/threejs/r119/examples/jsm/controls/OrbitControls.js';
const fov = 75;
const aspect = 2;  // the canvas default
const near = 0.1;
-const far = 5;
+const far = 100;
const camera = new THREE.PerspectiveCamera(fov, aspect, near, far);
-camera.position.z = 2;
+camera.position.z = 3;

+const controls = new OrbitControls(camera, canvas);
+controls.target.set(0, 0, 0);
+controls.update();
これを試してみて下さい。 ドラッグしてカメラを回転させ、キューブマップが周囲を取り囲んでいるのを見てみましょう。
もう1つの方法は正距円筒図を使用する事です。 360カメラで撮るとこんな感じの写真になります。
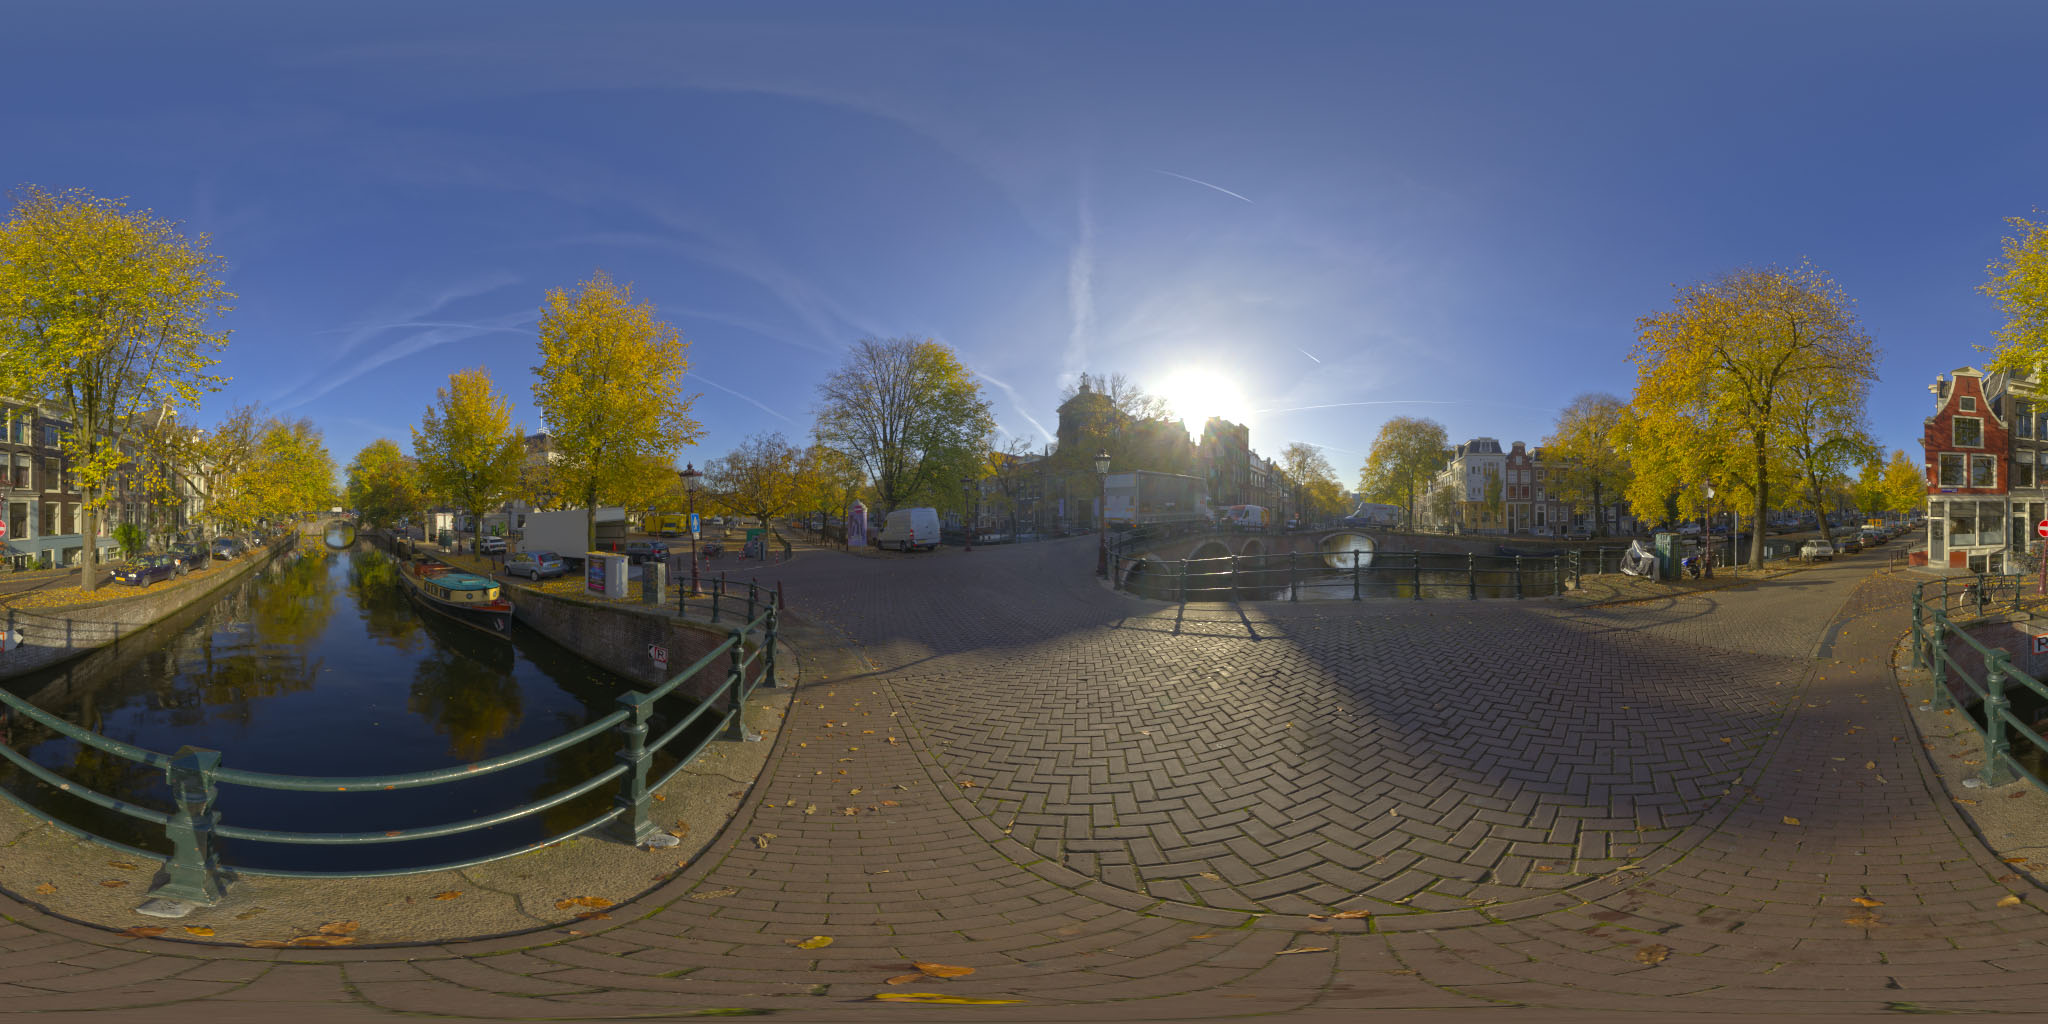
たいして変わらないですね。
まず、正距円筒図をテクスチャとして読み込み、読み込み後のコールバックで WebGLCubeRenderTarget.fromEquirectangularTexture を呼び出して、正距円筒図テクスチャからキューブマップを生成します。
{
-  const loader = new THREE.CubeTextureLoader();
-  const texture = loader.load([
-    'resources/images/cubemaps/computer-history-museum/pos-x.jpg',
-    'resources/images/cubemaps/computer-history-museum/neg-x.jpg',
-    'resources/images/cubemaps/computer-history-museum/pos-y.jpg',
-    'resources/images/cubemaps/computer-history-museum/neg-y.jpg',
-    'resources/images/cubemaps/computer-history-museum/pos-z.jpg',
-    'resources/images/cubemaps/computer-history-museum/neg-z.jpg',
-  ]);
-  scene.background = texture;
+  const loader = new THREE.TextureLoader();
+  const texture = loader.load(
+    'resources/images/equirectangularmaps/tears_of_steel_bridge_2k.jpg',
+    () => {
+      const rt = new THREE.WebGLCubeRenderTarget(texture.image.height);
+      rt.fromEquirectangularTexture(renderer, texture);
+      scene.background = rt.texture;
+    });
}
そして、これが全てです。
テクスチャを読み込み時に行うのではなく、あらかじめ等角画像をキューブマップに変換しておく事ともできます。こんなサイトもあります。