Backgrounds and Skyboxes
Most of the articles here use a solid color for a background.
Adding as static background can be as simple as setting some CSS. Taking an example from the article on making THREE.js responsive we only need to change 2 things.
We need to add some CSS to our canvas to set its background to an image
<style>
body {
    margin: 0;
}
#c {
    width: 100%;
    height: 100%;
    display: block;
+    background: url(resources/images/daikanyama.jpg) no-repeat center center;
+    background-size: cover;
}
</style>
and we need to tell the WebGLRenderer to use alpha so places we are not
drawing anything are transparent.
function main() {
  const canvas = document.querySelector('#c');
-  const renderer = new THREE.WebGLRenderer({canvas});
+  const renderer = new THREE.WebGLRenderer({
+    canvas,
+    alpha: true,
+  });
And we get a background.
If we want the background to be able to be affected by post processing effects then we need to draw the background using THREE.js.
THREE.js makes this some what simple. We can just set the background of the scene to a texture.
const loader = new THREE.TextureLoader();
const bgTexture = loader.load('resources/images/daikanyama.jpg');
scene.background = bgTexture;
which gives us
This gets us a background image but its stretched to fit the screen.
We can solve this issue by setting the repeat and offset properties of
the texture to show only a portion of image.
function render(time) {

   ...

+  // Set the repeat and offset properties of the background texture
+  // to keep the image's aspect correct.
+  // Note the image may not have loaded yet.
+  const canvasAspect = canvas.clientWidth / canvas.clientHeight;
+  const imageAspect = bgTexture.image ? bgTexture.image.width / bgTexture.image.height : 1;
+  const aspect = imageAspect / canvasAspect;
+
+  bgTexture.offset.x = aspect > 1 ? (1 - 1 / aspect) / 2 : 0;
+  bgTexture.repeat.x = aspect > 1 ? 1 / aspect : 1;
+
+  bgTexture.offset.y = aspect > 1 ? 0 : (1 - aspect) / 2;
+  bgTexture.repeat.y = aspect > 1 ? 1 : aspect;

  ...

  renderer.render(scene, camera);

  requestAnimationFrame(render);
}
and now THREE.js drawing the background. There is no visible difference from the CSS version at the top but now if we used a post processing effect the background would be affected too.
Of course a static background is not usually what we want in a 3D scene. Instead we usually want some kind of skybox. A skybox is just that, box with the sky draw on it. We put the camera inside the box and it looks like there is a sky in the background.
The most common way to implement a skybox is to make a cube, apply a texture to
it, draw it from the inside. On each side of the cube put a texture (using
texture coordinates) that looks like some image of the horizon. It's also often
common to use a sky sphere or a sky dome with a texture drawn on it. You can
probably figure that one out on your own. Just make a cube or sphere,
apply a texture, mark it as THREE.BackSide so we
render the inside instead of the outside, and either put it in your scene directly
or like above, or, make 2 scenes, a special one to draw the skybox/sphere/dome and the
normal one to draw everything else. You'd use your normal PerspectiveCamera to
draw. No need for the OrthographicCamera.
Another solution is to use a Cubemap. A Cubemap is a special kind of texture that has 6 sides, the sides of a cube. Instead of using standard texture coordinates it uses a direction from the center pointing outward to decide where to get a color.
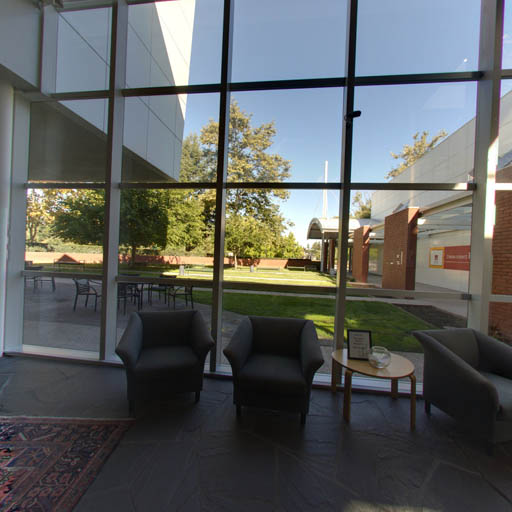
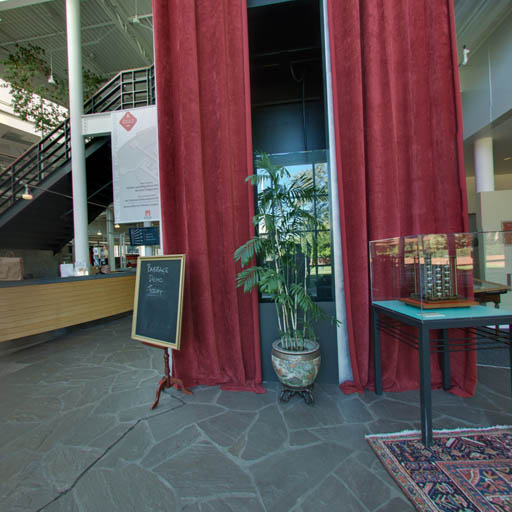
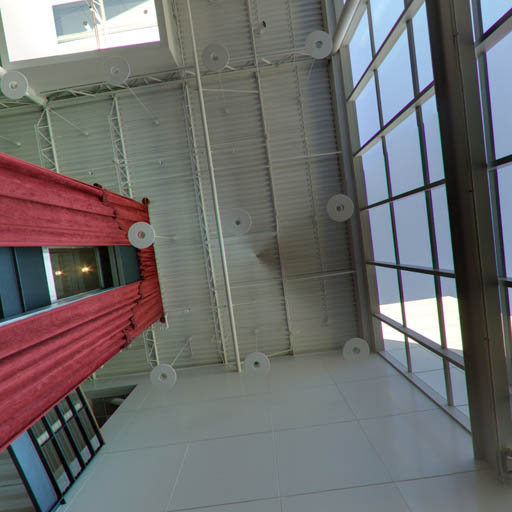
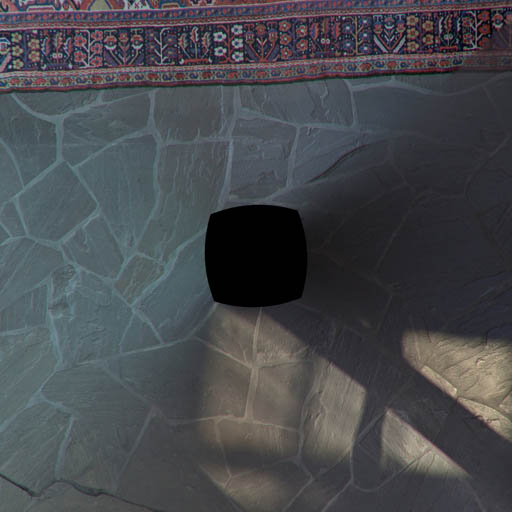
Here are the 6 images of a cubemap from the computer history museum in Mountain View, California.
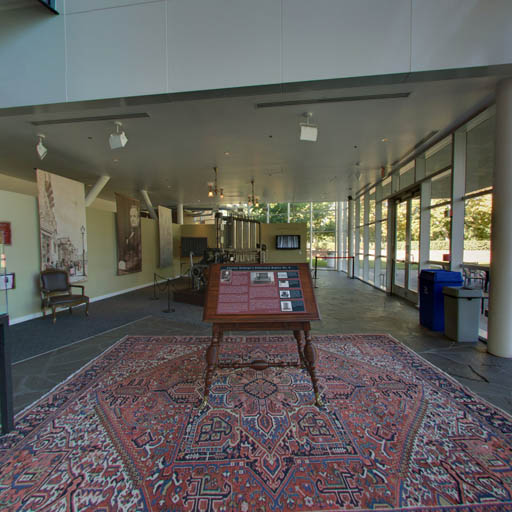
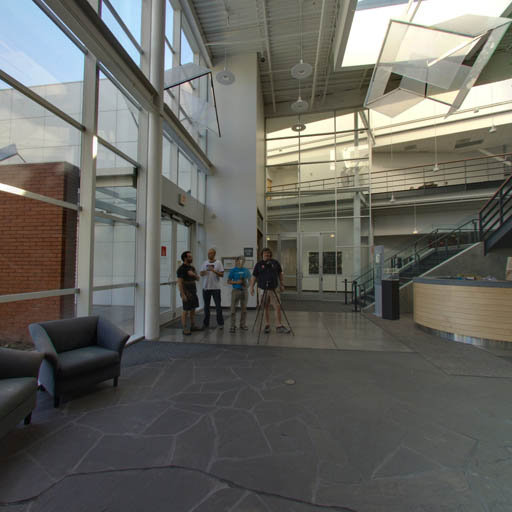
To use them we use CubeTextureLoader to load them and then use that as a the
scene's background.
{
  const loader = new THREE.CubeTextureLoader();
  const texture = loader.load([
    'resources/images/cubemaps/computer-history-museum/pos-x.jpg',
    'resources/images/cubemaps/computer-history-museum/neg-x.jpg',
    'resources/images/cubemaps/computer-history-museum/pos-y.jpg',
    'resources/images/cubemaps/computer-history-museum/neg-y.jpg',
    'resources/images/cubemaps/computer-history-museum/pos-z.jpg',
    'resources/images/cubemaps/computer-history-museum/neg-z.jpg',
  ]);
  scene.background = texture;
}
At render time we don't need to adjust the texture like we did above
function render(time) {

   ...

-  // Set the repeat and offset properties of the background texture
-  // to keep the image's aspect correct.
-  // Note the image may not have loaded yet.
-  const canvasAspect = canvas.clientWidth / canvas.clientHeight;
-  const imageAspect = bgTexture.image ? bgTexture.image.width / bgTexture.image.height : 1;
-  const aspect = imageAspect / canvasAspect;
-
-  bgTexture.offset.x = aspect > 1 ? (1 - 1 / aspect) / 2 : 0;
-  bgTexture.repeat.x = aspect > 1 ? 1 / aspect : 1;
-
-  bgTexture.offset.y = aspect > 1 ? 0 : (1 - aspect) / 2;
-  bgTexture.repeat.y = aspect > 1 ? 1 : aspect;

  ...

  renderer.render(scene, camera);

  requestAnimationFrame(render);
}
Let's add some controls in so we can rotate the camera.
import {OrbitControls} from '/examples/jsm/controls/OrbitControls.js';
const fov = 75;
const aspect = 2;  // the canvas default
const near = 0.1;
-const far = 5;
+const far = 100;
const camera = new THREE.PerspectiveCamera(fov, aspect, near, far);
-camera.position.z = 2;
+camera.position.z = 3;

+const controls = new OrbitControls(camera, canvas);
+controls.target.set(0, 0, 0);
+controls.update();
and try it out. Drag on the example to rotate the camera and see the cubemap surrounds us.
Another option is to use an Equirectangular map. This is the kind of picture a 360 camera takes.
Here's one I found from this site.
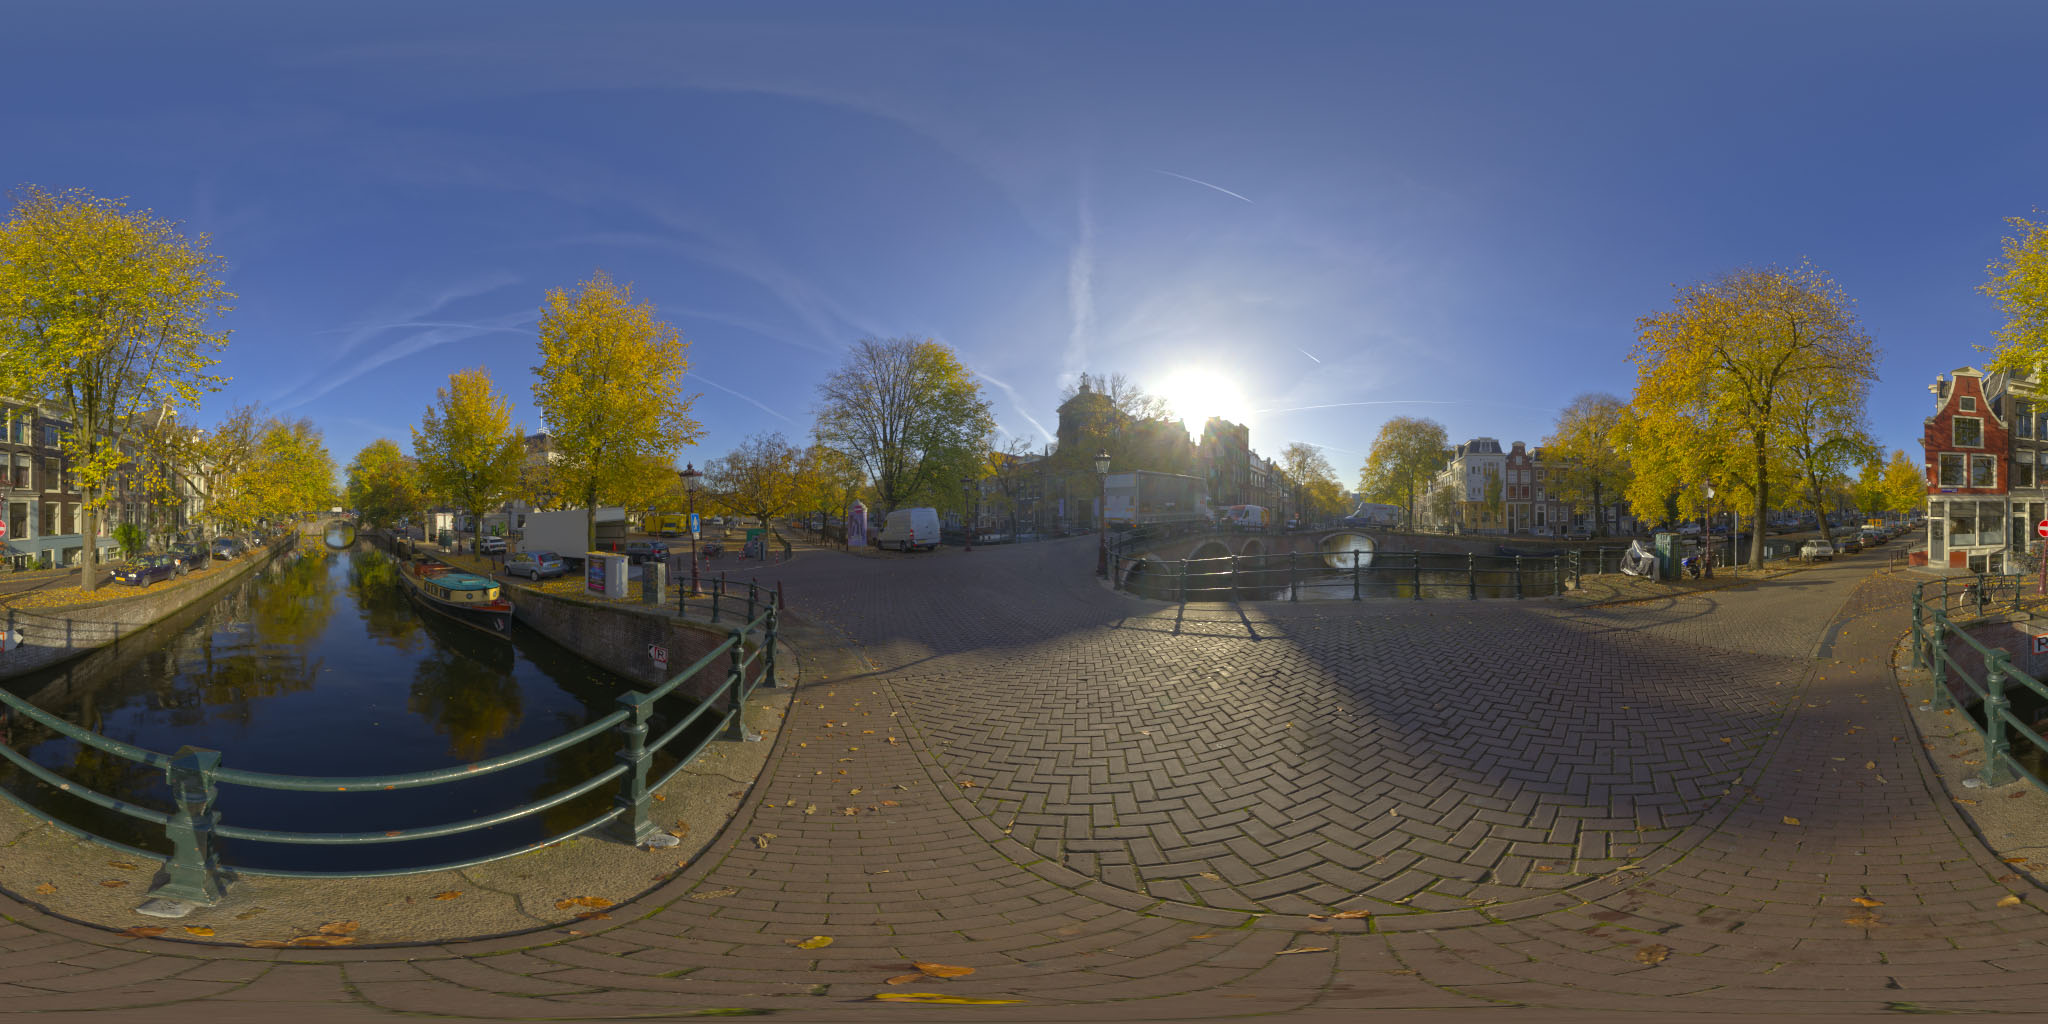
It's not much different. First we load the equirectangular image as a texture
and then, in the callback after it has loaded, we can call WebGLCubeRenderTarget.fromEquirectangularTexture
which will generate a cubemap from the equirectangular texture for us.
We pass in the size we want the cubemap to be to WebGLCubeRenderTarget.
Passing in the height of the equirectangular image seems like a good bet.
{
-  const loader = new THREE.CubeTextureLoader();
-  const texture = loader.load([
-    'resources/images/cubemaps/computer-history-museum/pos-x.jpg',
-    'resources/images/cubemaps/computer-history-museum/neg-x.jpg',
-    'resources/images/cubemaps/computer-history-museum/pos-y.jpg',
-    'resources/images/cubemaps/computer-history-museum/neg-y.jpg',
-    'resources/images/cubemaps/computer-history-museum/pos-z.jpg',
-    'resources/images/cubemaps/computer-history-museum/neg-z.jpg',
-  ]);
-  scene.background = texture;
+  const loader = new THREE.TextureLoader();
+  const texture = loader.load(
+    'resources/images/equirectangularmaps/tears_of_steel_bridge_2k.jpg',
+    () => {
+      const rt = new THREE.WebGLCubeRenderTarget(texture.image.height);
+      rt.fromEquirectangularTexture(renderer, texture);
+      scene.background = rt.texture;
+    });
}
And that's all there is to it.
Rather than do it at load time you can also convert an equirectangular image to a cubemap beforehand. Here's a site that will do it for you.